so i've been trying to turn mason's "baby" room into a "little boy's room" for the past couple of weeks. one of the projects i took on was to make him some new curtains and a new bed skirt for his crib. i FINALLY have it finished!
it's been a little difficult trying to finish it when he has been so clingy since i've been home with him this summer. but i love him and he is my monster...he can be as clingy as he wants. :)
.....................................................................................................................................................................
here is the tutorial on how to make a bed skirt for your little munchkins crib or bed.
1. i started by laying out a plain white sheet over top of his "baby" crib skirt and cut it to the same size.
(you can use a skirt that you already have that fits, or you can measure the bed and use those measurements to figure out how big to make it.)
2. i then got my material and layed it under the sides of the skirt to see how long i needed to make them. i went a little longer and a little wider because of the hem and i wanted to add a little ruffle to mine. :)
note: the wider you take your material out, the more "ruffle" you can add.
3. i cut all three pieces out of my material.
another note: :) i only made my skirt with three sides (one long and two short), because 1. less material and 2. his crib is against a wall and no one will even notice.
4. i took all three pieces and created a one inch hem. (i folded over twice and ironed so no raw edges were showing.)
5. i sewed the hems on all three pieces.
6. then i folded over the sides of the pieces (twice), ironed, and sewed.
now it's time to make your stitch for the "ruffle" :)
7. turn your machine setting to the longest stitch size
8.put the top edge (raw) of each piece under the sewing machine and sew a straight stitch (no backstitching here)
note: you can also use elastic thread in your bobbin, but i ran out of that in my last project and haven't had time to get more yet.
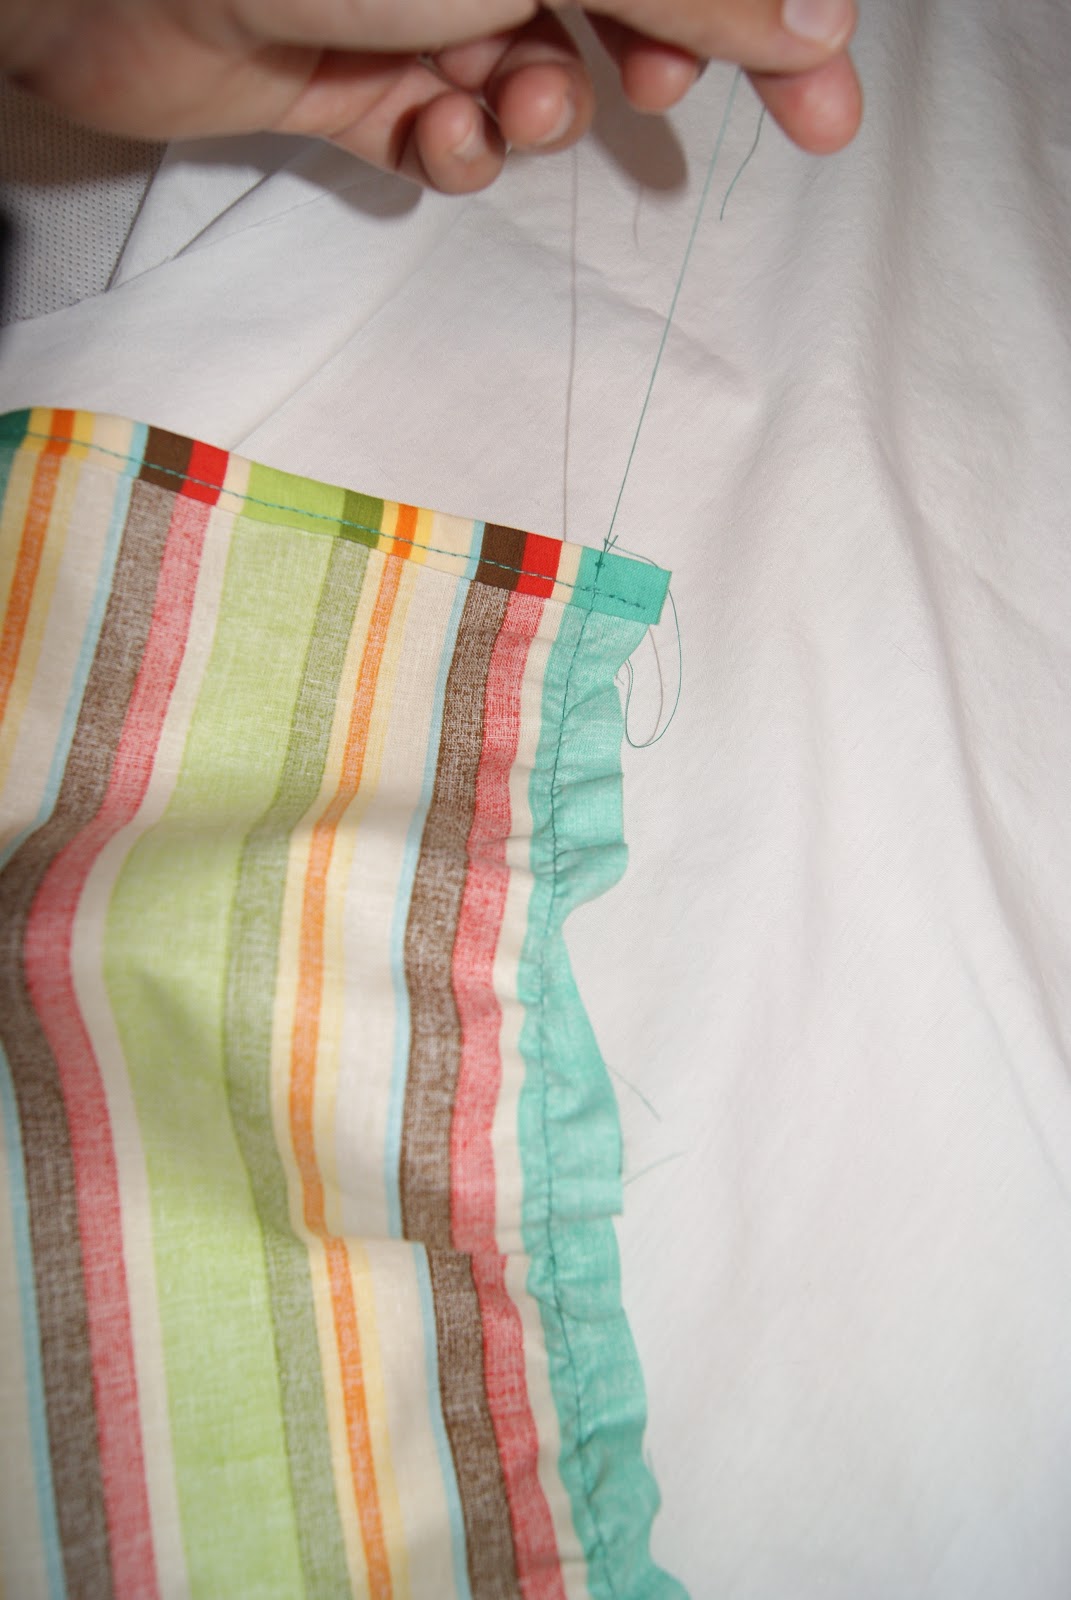
9. make sure to leave a tail at the end of your stitch
10. to make the ruffle, hold on to the bobbin thread, and push the material towards the center. you have to even the ruffle out with your hands but this allows you to make as much or less of a ruffle that you want.
11. place the side of the skirt on the white sheet (right sides facing)
12. pin down the skirt and repeat for the two other sides
it's starting to come together!
this calls for three smiley faces :) :) :)
13. sew the three sides to the sheet right inside of the the seem you used to make the ruffle
and that's all folks!
you have a bed skirt for you or your little one!!