Monday, July 16, 2012

hot glue gun holder

yesterday evening the hubby and i spent some time making a hot glue gun holder. :) i saw the picture on pinterest and immediately told the hubby i had to have one. :) :)  i thought it was going to be an easy project that would take no time, but he had to have everything perfect...even the stain. lol

it took a couple of hours to finish but i think know it will be worth it!!


i took some pictures along the way and jotted down my measurements incase you want to try it. :)


first i traced the main piece and then we (yes WE!:) )cut out the two pieces.

 (i am making two of them)


then we cut out the y's i drew.
(i really just guessed when i drew it, and hoped it worked! and it did!!!
there are three y's because the hubby messed up cutting out the first one)
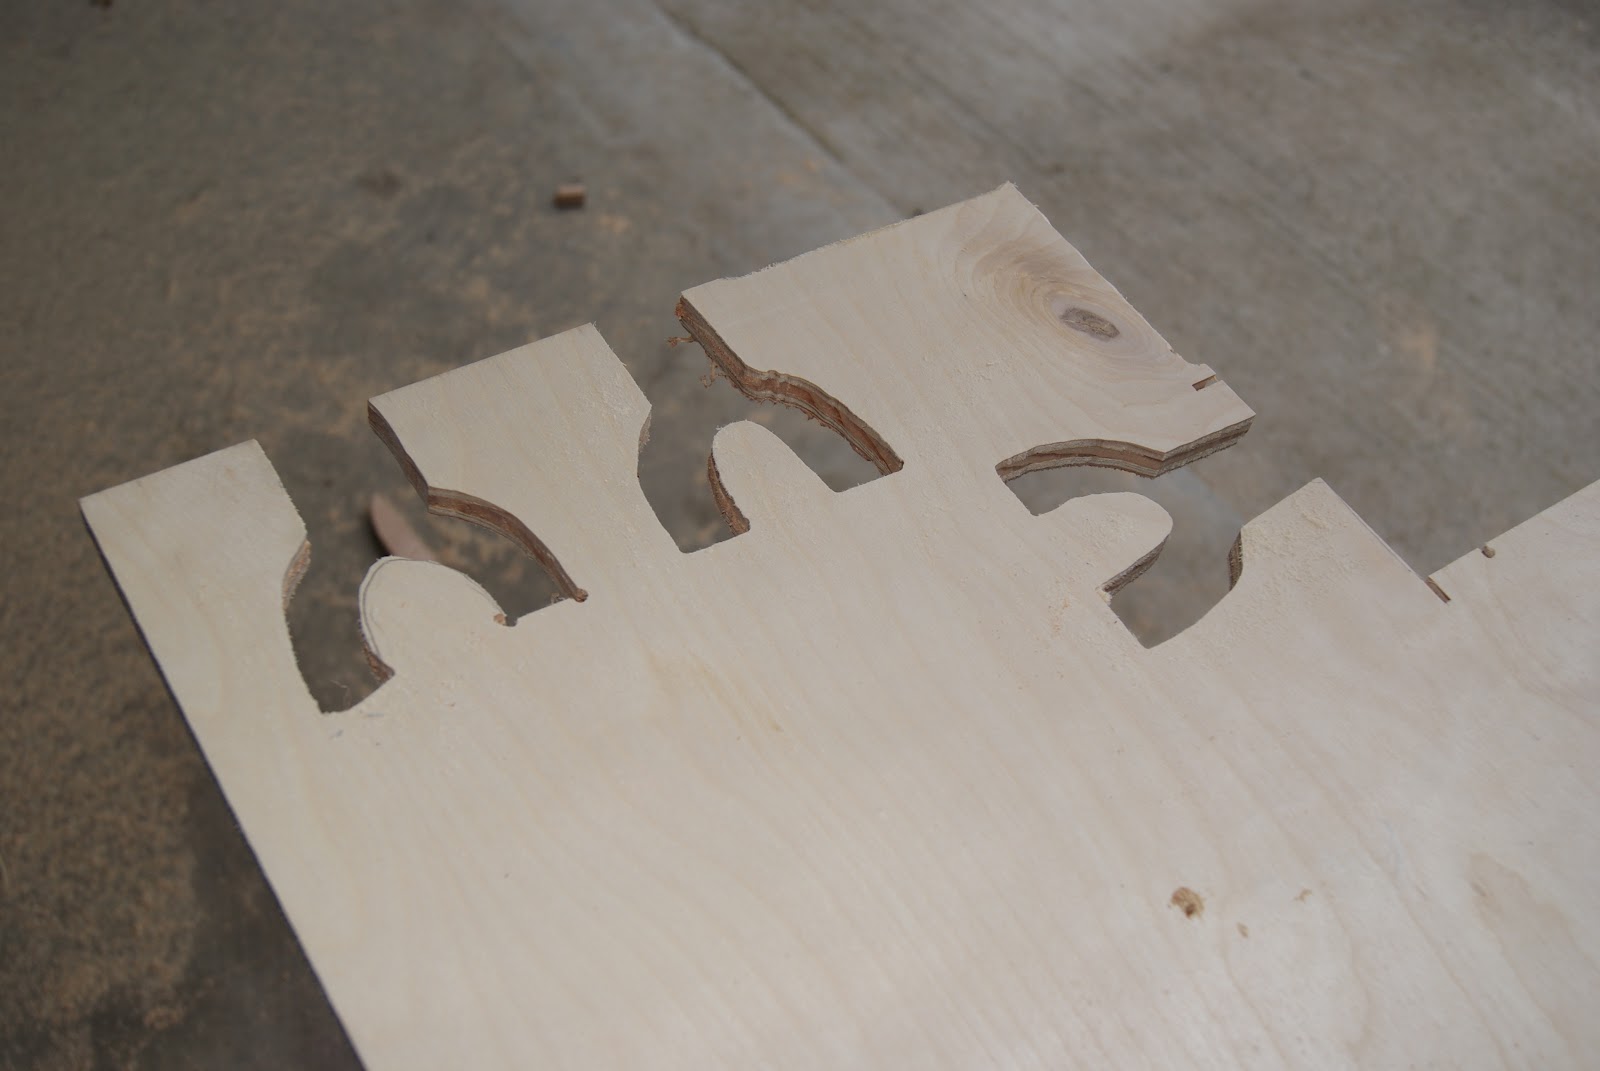


the one i cut out! :)


this next step isn't necessary, but the hubby thought it would make it look better.

HE rounded all of the edges so it looks nicer.


(i like watching him do the work...he he. i'm a better moderator)


here are the measurements for the box

here i am cutting the pieces out!
i was so nervous to use this thing!!!


he is doing the small pieces....he was scared i was going to chop a finger off.


now it's time to put it all together!

i hot glued all of the pieces together.  i was surprised hot glue worked so well on this wood!

glue the y holder on


and the box part is finished!
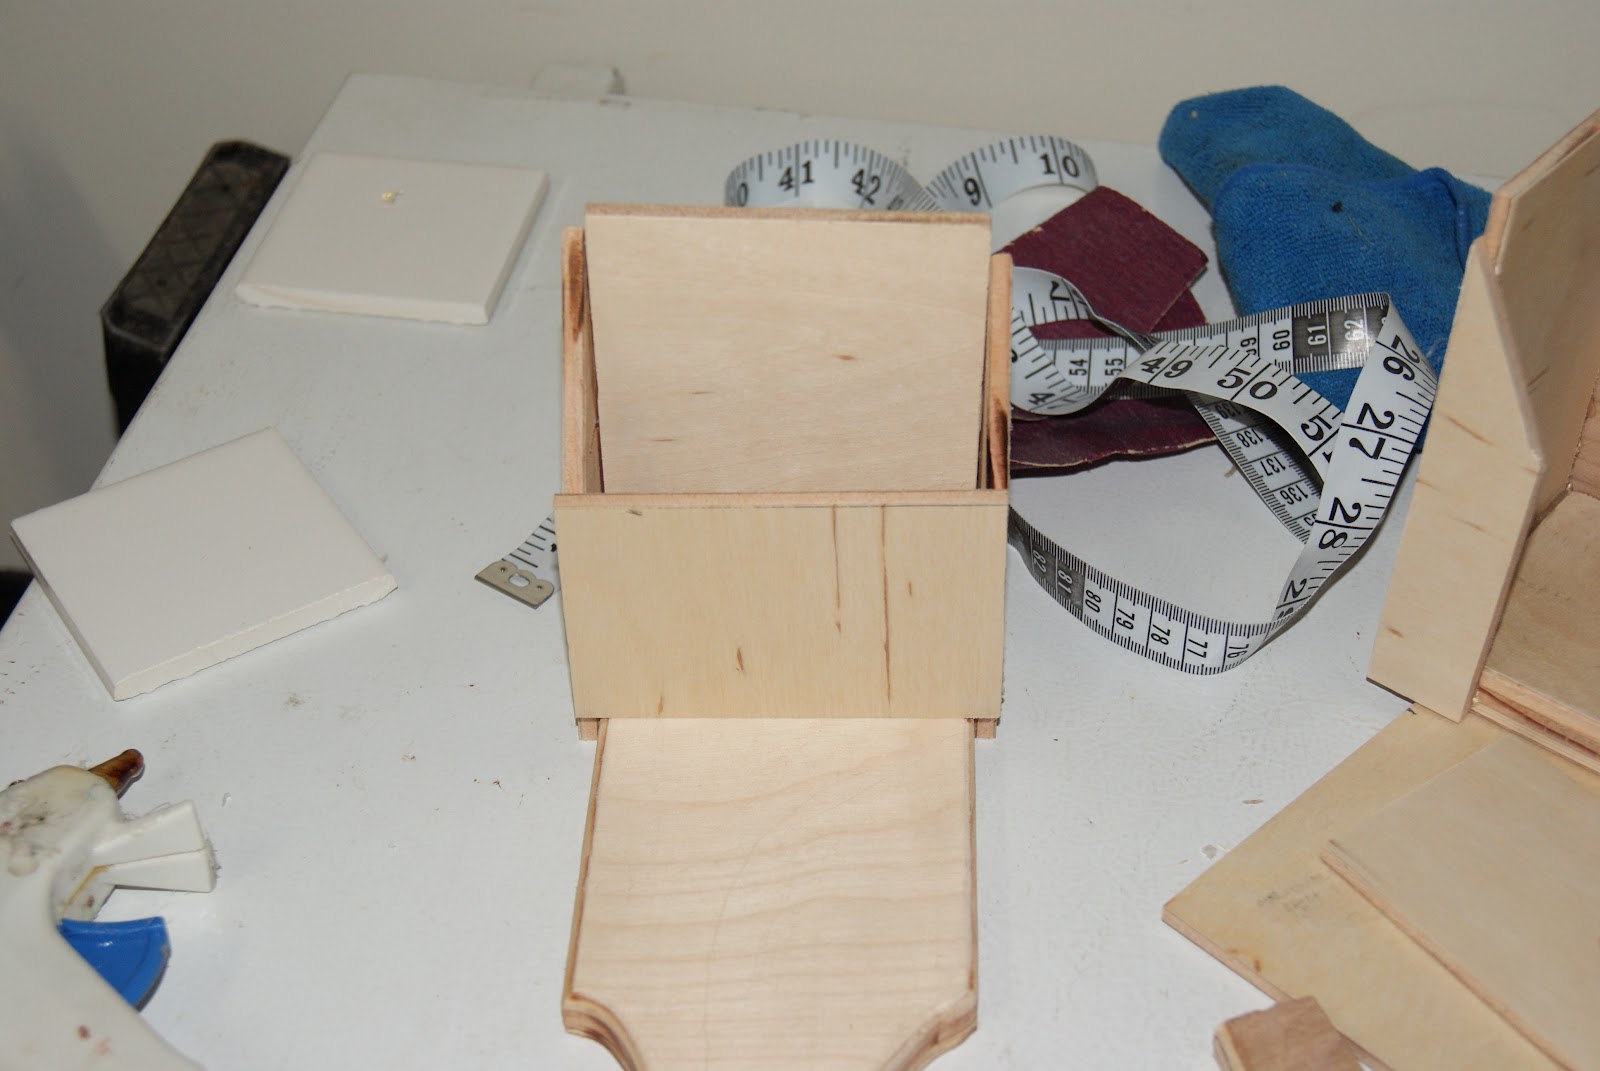


my first stain job...


i hated waiting for it to dry...


ps. i LOVE my pink crocks!

i waited until this morning to go out and get them. i glued the tile on them and they were FINISHED!!!


love it already!


hope she likes hers as much as i do!!


Cari.

Tuesday, July 10, 2012

free music!!!

so, i was on pinterest today (surprise, surprise) and i found this pin!


i have been downloading songs all day and it is awesome! the songs are free.  all you have to do it go to youtube to get the song and convert it.  anyone can do it!!!!

i went to the blog at the bottom but the page was no longer there. :(

you should give this a try.  i even transfered them over to my itunes.

i can't wait to listen to them over and over again.

Thursday, June 21, 2012

mason's room

here are some pics of the monster's room

new curtains...

his new bed skirt...
i still have one more project....pictures for the frames above his bed and on the other side of the window.

his new play area.... i bought an oil drip pan from walmart and spray painted it red to match his room. it is magnetic so i just added some magnetic toys and letters. :)
he LOVES it!!

i framed some book covers

he decided to follow me into his room to play


mad about something...

any happy again!


he loves his room and i am very excited how everything turned out!!!

bed skirt tutorial!!!

so i've been trying to turn mason's "baby" room into a "little boy's room" for the past couple of weeks.  one of the projects i took on was to make him some new curtains and a new bed skirt for his crib.  i FINALLY have it finished! 

it's been a little difficult trying to finish it when he has been so clingy since i've been home with him this summer. but i love him and he is my monster...he can be as clingy as he wants. :)

.....................................................................................................................................................................


here is the tutorial on how to make a bed skirt for your little munchkins crib or bed.

1. i started by laying out a plain white sheet over top of his "baby" crib skirt and cut it to the same size.
(you can use a skirt that you already have that fits, or you can measure the bed and use those measurements to figure out how big to make it.)

2. i then got my material and layed it under the sides of the skirt to see how long i needed to make them. i went a little longer and a little wider because of the hem and i wanted to add a little ruffle to mine. :)
note: the wider you take your material out, the more "ruffle" you can add.

 
3. i cut all three pieces out of my material. 

another note: :) i only made my skirt with three sides (one long and two short), because 1. less material and 2. his crib is against a wall and no one will even notice.


4. i took all three pieces and created a one inch hem. (i folded over twice and ironed so no raw edges were showing.)

5. i sewed the hems on all three pieces.


6. then i folded over the sides of the pieces (twice), ironed, and sewed.


now it's time to make your stitch for the "ruffle" :)


7. turn your machine setting to the longest stitch size


8.put the top edge (raw) of each piece under the sewing machine and sew a straight stitch (no backstitching here) 

note: you can also use elastic thread in your bobbin, but i ran out of that in my last project and haven't had time to get more yet.


9. make sure to leave a tail at the end of your stitch

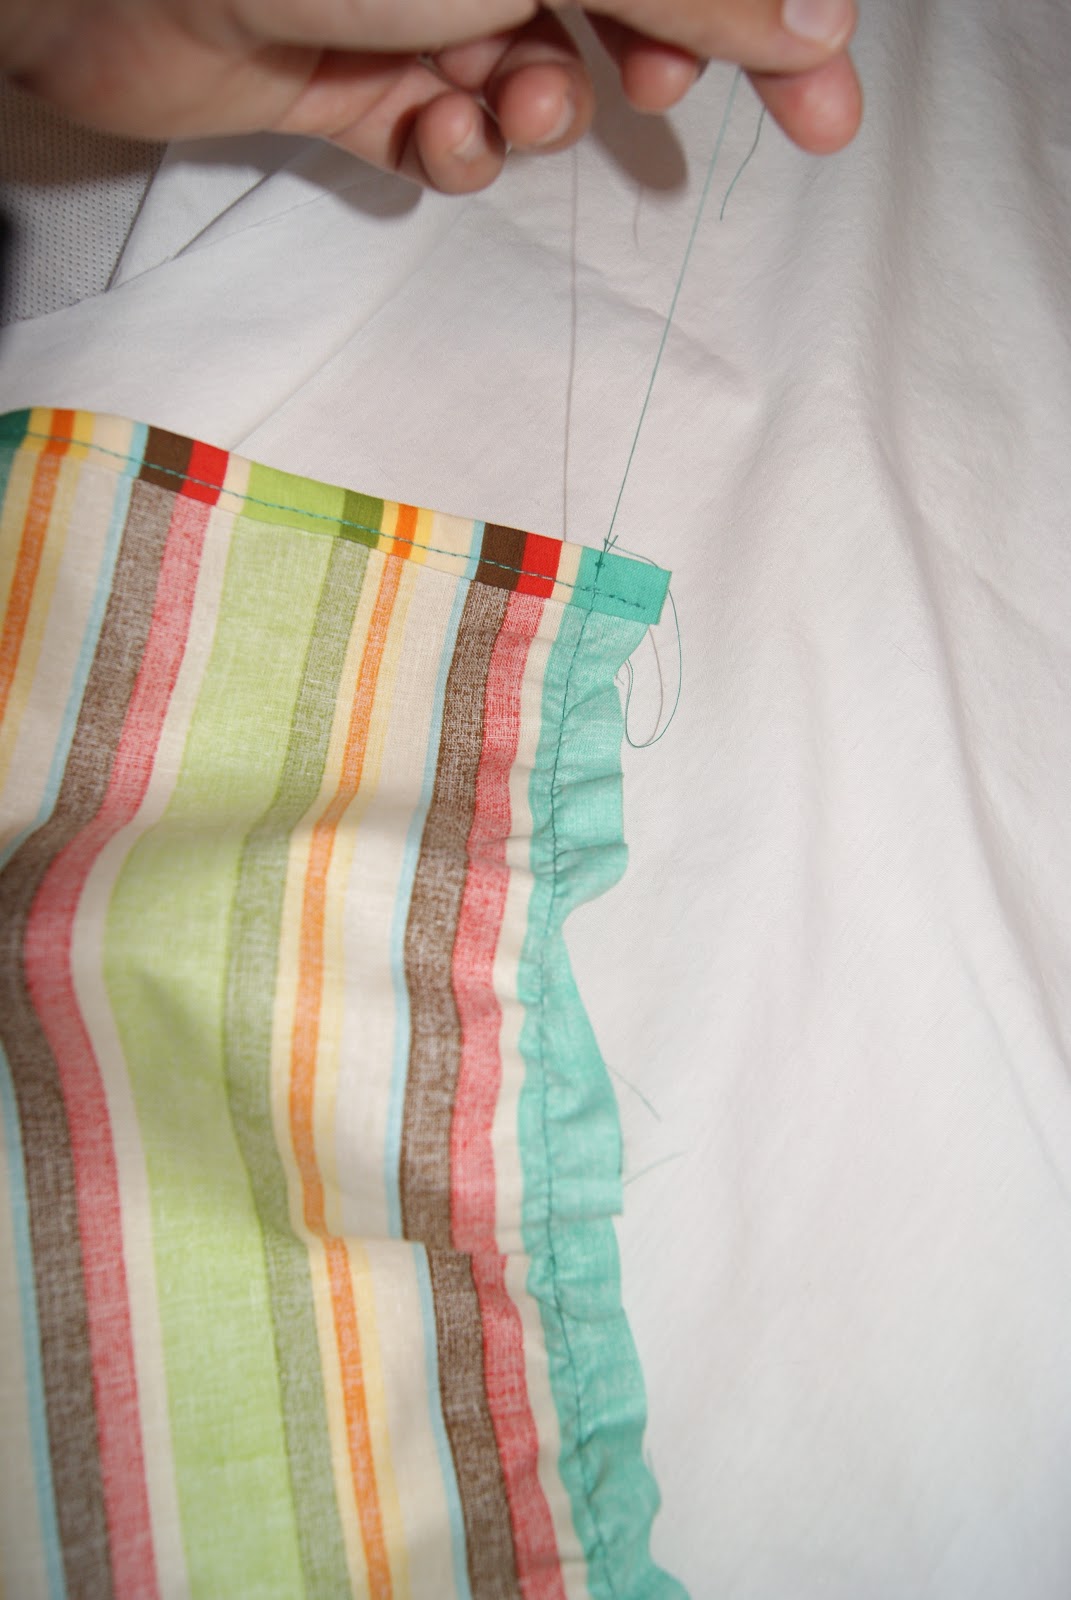
10. to make the ruffle, hold on to the bobbin thread, and push the material towards the center.  you have to even the ruffle out with your hands but this allows you to make as much or less of a ruffle that you want.


11. place the side of the skirt on the white sheet (right sides facing)


12. pin down the skirt and repeat for the two other sides


it's starting to come together!
this calls for three smiley faces :) :) :)

13. sew the three sides to the sheet right inside of the the seem you used to make the ruffle


and that's all folks! 
you have a bed skirt for you or your little one!!